I attended a morning wedding yesterday in the Glass Garden located in Pasig. Yes, I think I've arrived at that age when friends and contemporaries slowly get married here and there. :)) Besides sharing in the joy of the newlyweds, it's also fun for me to get dressed up for occasions like this. It's a good excuse to doll up! :D
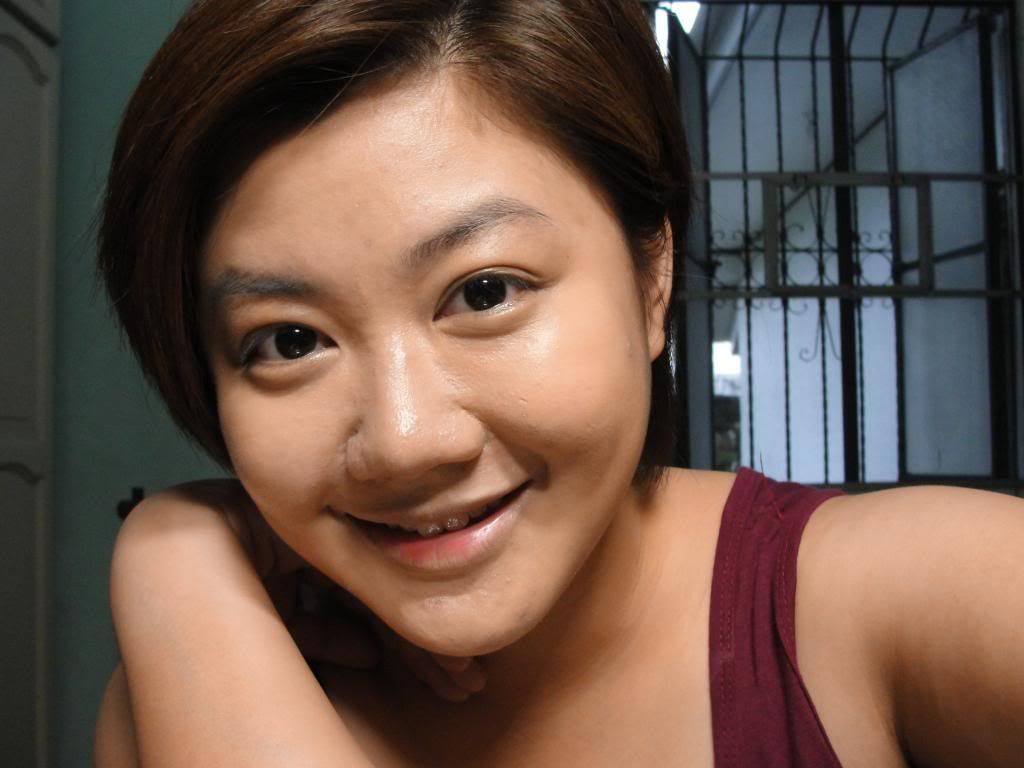
Since the wedding was in the morning, I went for light makeup. Nothing too heavy or dramatic. Just wanted to share the simple look I did which turned out pretty well, if I may say. Hehe.
 |
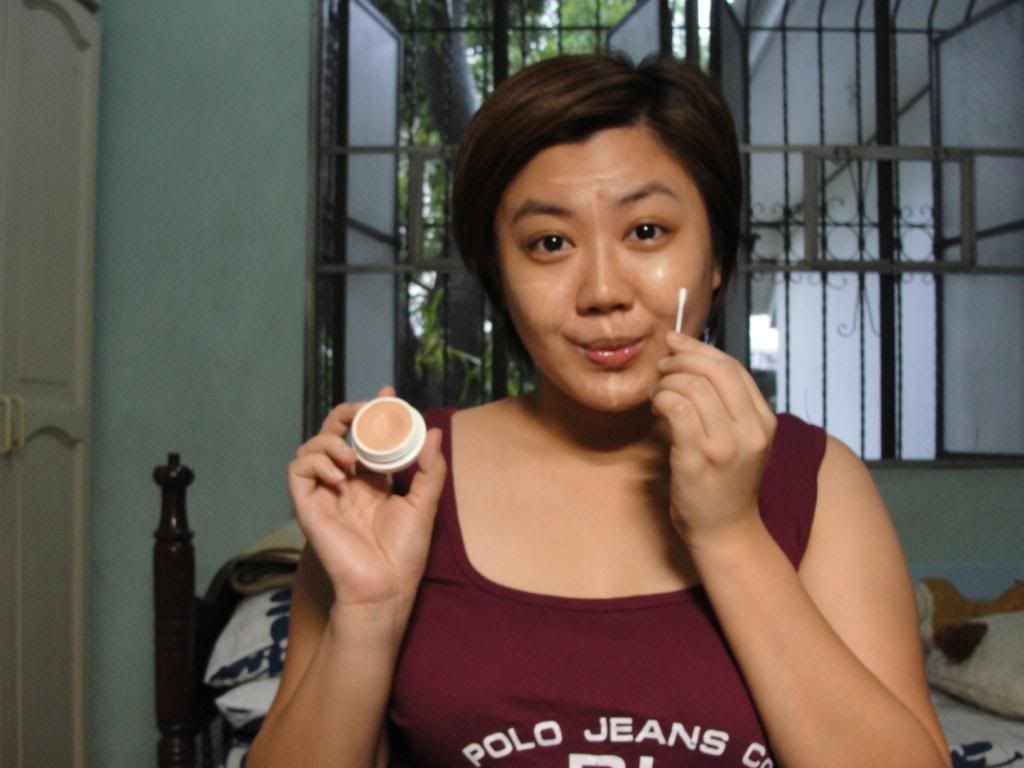
| Please excuse the shadow on the left photo. |
My How-To:
BASE
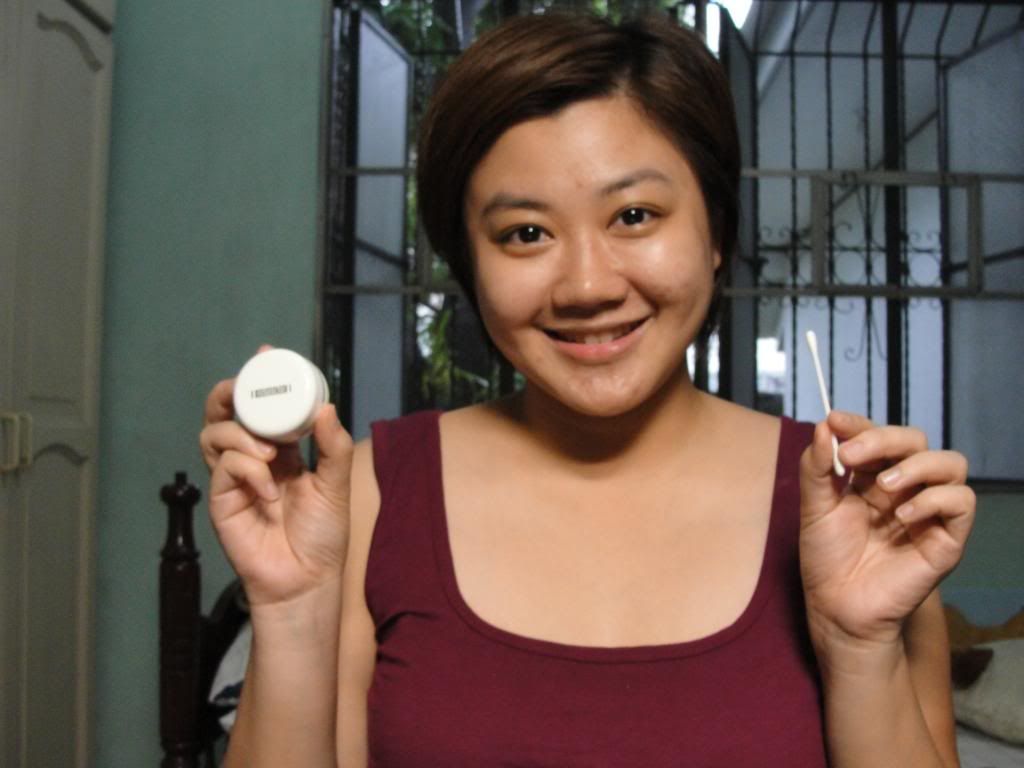
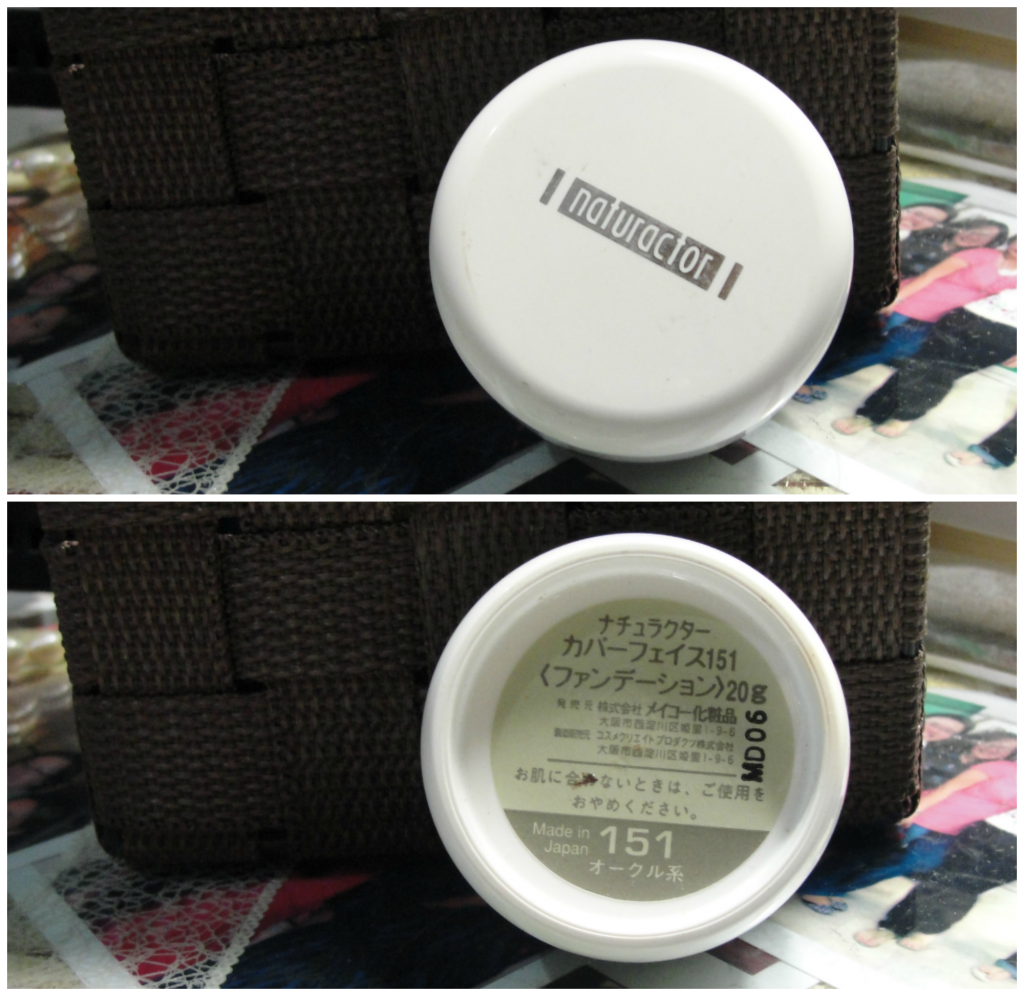
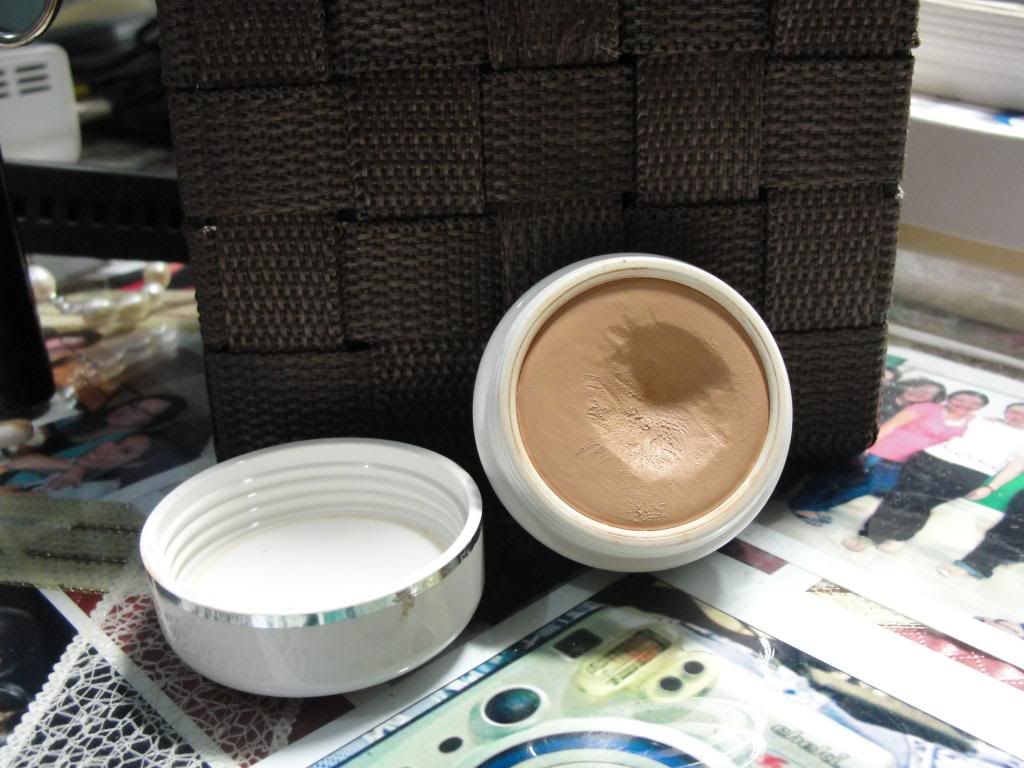
1. Applied a light amount of Naturactor concealer in 171 (Green) to neutralize the red areas. As you can see from the right photo, I have a zit on my nose bridge. It looked worse without the Naturactor on it. Only a little amount of the concealer helped tone down the pimple's redness. :)
2. Applied Happy Skin Second Skin Creme with a damp Beauty Blender for a natural finish. I used downward strokes following the natural direction of hair growth.
3. Neutralized the darkness in my undereye area with a peachy shade from the Ben Nye Conceal-All Wheel. Brightened up the undereye area with the yellow shade from the RCMA Highlight and Contour Palette.
4. Used KO-1 from the RCMA Four Color Kit Set A to conceal whatever blemishes remain. Still using the Beauty Blender in this step.
CHEEKS
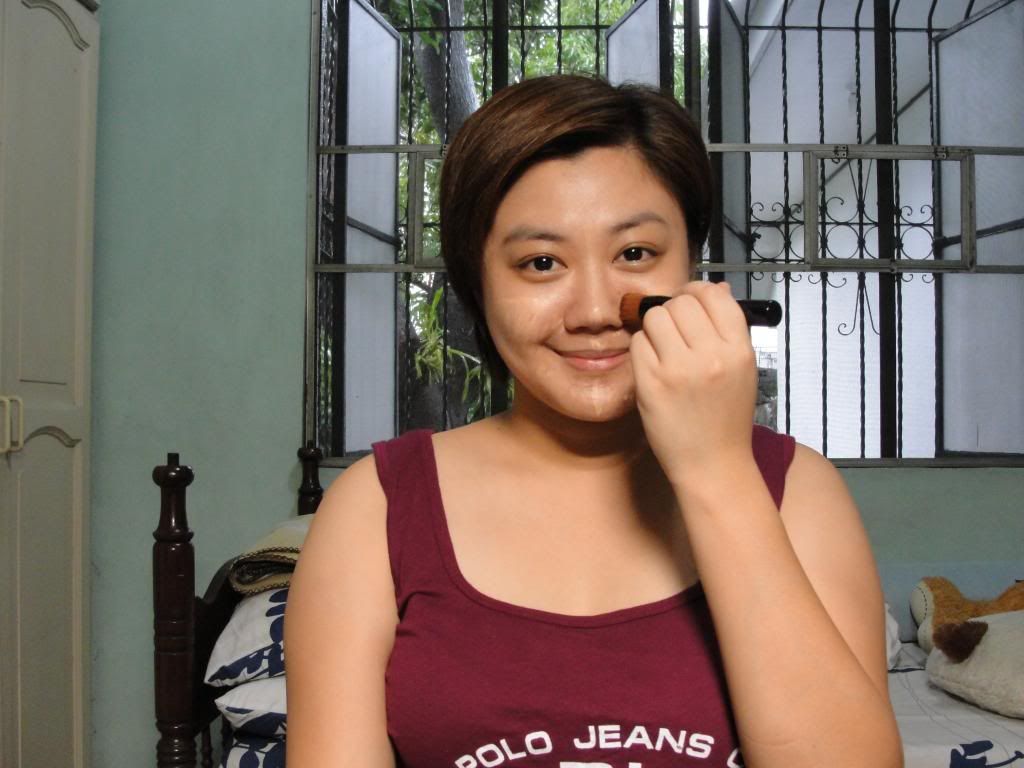
5. Lightly swept Amber from the La Femme 12-pc Blush Palette on my cheeks using a stippling brush. Since this palette is SOOOO pigmented (not kidding!), light strokes are most recommended! I applied it on the sides of cheeks as if I would apply contour to provide some depth to the face.
EYES
6. Defined the eyebrows with MAC Fluidline Brow Gelcreme in Dirty Blonde. I used a slanted brush to apply with a light hand then blended with a spoolie. I love how this gave me soft eyebrows perfect for the light and fresh look I was gunning for.
7. Patted on a peachy-pink shadow on my eyes from the Revlon Colorstay 16-hr Eyeshadow Quad in Delightful. It doesn't show up much but it wakes up the eyes nicely.
8. Since I was going for a soft look, I used eyeshadow to line my eyes instead of liquid or gel eyeliner. My reliable choice? Espresso, a dark brown shade in the Lorac Pro Palette. There's no fall-out and it doesn't end up on my lower lids also. Since this is in the morning, I lined only my upper eyelid.
9. Curled my lashes and put on a few coats of Fairydrops Volumizing Burst Mascara on my upper and lower lashes. Never underestimate the power of mascara on your lasher lashes in opening up your eyes! Just be sure to use a non-smudging or waterproof type.
LIPS
10. Do not forget to prime your lips before lipstick application for a smooth surface! I usually use just my toothbrush/finger to lightly exfoliate then apply a lipbalm afterwards.
11. Still in line with the soft look I wanted, I used Valentine Kiss, the new limited edition shade of Happy Skin's Shut Up and Kiss Me lippie, the shade of which is personally picked out by the Queen of Media herself, Kris Aquino. It looks fluorescent under a certain light which makes it a little intimidating to wear but it showed up quite nicely in the photo. Liz Lanuzo of Project Vanity (one of my favorite bloggers!) described this as a more wearable version of cult favorite Pink Nouveau for Asian tones.
 |
| Valentine Kiss is photo-friendly! :) |
FINISHING TOUCHES
12. Set with MAC Studio Fix Powder Plus Foundation (I'm an NC 30). It has amazing coverage which looks nice on photos. :) I used a foundation brush to pat on (not swipe!) the powder on my face.
13. Dabbed on a bit of Nude, a shimmery shade from the Lorac Pro Palette, on my browbone and on top of the eyebrow arch for some definition. The shimmer creates the illusion of lifting up the eyebrows and eyes.
14. Light sweep of theBalm Mary-Lou Manizer on the inner corners of my eyes, on the nose bridge and on the cheekbones for a morning glow. ;)
15. To set everything in place, I loosely dusted on MAC Studio Fix Powder Plus Foundation on the cheek area.
Easy-peasy day wedding makeup in 15 steps! Have fun with makeup, it can be washed off, after all.
Happy Monday, everyone! :)